


I was taught a long time ago that cleanliness is next to godliness, so when it comes to organizing my fridge, I’m all about a little elbow grease. It’s actually not that bad once you get started. I enjoy the process of cleaning out expired or old food and getting everything back in order again.
My fridge looks so good after it’s organized. The best part is that it only takes me a few minutes and only costs me some elbow grease.
Here’s how I do it:
Step 1: Clean it out
The first step is to clean out the fridge and freezer. Remove expired food, leftovers and items that are no longer needed. Next, remove items you don’t want to eat but are in good condition (such as the dinner your husband brought home last night). Finally, remove those mystery items that may have been there since you moved in.
Step 2: Wipe down the shelves and drawers
Now that the shelves are empty and you have removed any leftover food, it’s time to clean them. Dampen a sponge or rag with warm water and wipe down your refrigerator shelves. Be sure to use an antibacterial cleaner if you have one in the house. You can also spray a disinfectant onto each shelf after they’re clean if you would like but it is not necessary. Next, rinse off your sponge or rag with clean water and let it air dry on a towel before storing it away in its designated spot. Do this for every part of the fridge including drawers and bins.
Step 3: Toss expired food and old leftovers
- Choose a day to go through your fridge and toss expired food. You can do this as often as once a month, but don’t worry if you’re having trouble keeping up with the expiration dates on all of your groceries. If you’re like most people, “best before” stickers mean very little in practice—and nearly half of Americans have thrown out food because they thought it had gone bad when really it was still safe to eat!
- When in doubt, check out these guidelines for how long specific foods last:
- Fresh fruits and vegetables – 1-2 days
- Fresh meats (beef, chicken) – 3-5 days
- Fresh fish – 1-2 days
- Eggs – 3-5 weeks (unrefrigerated); 6 months (refrigerated)
Step 4: Sort through items on shelves
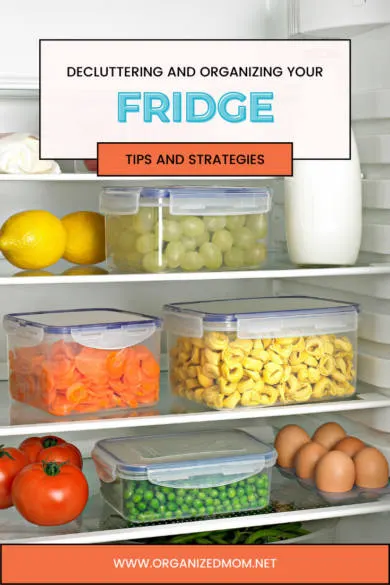
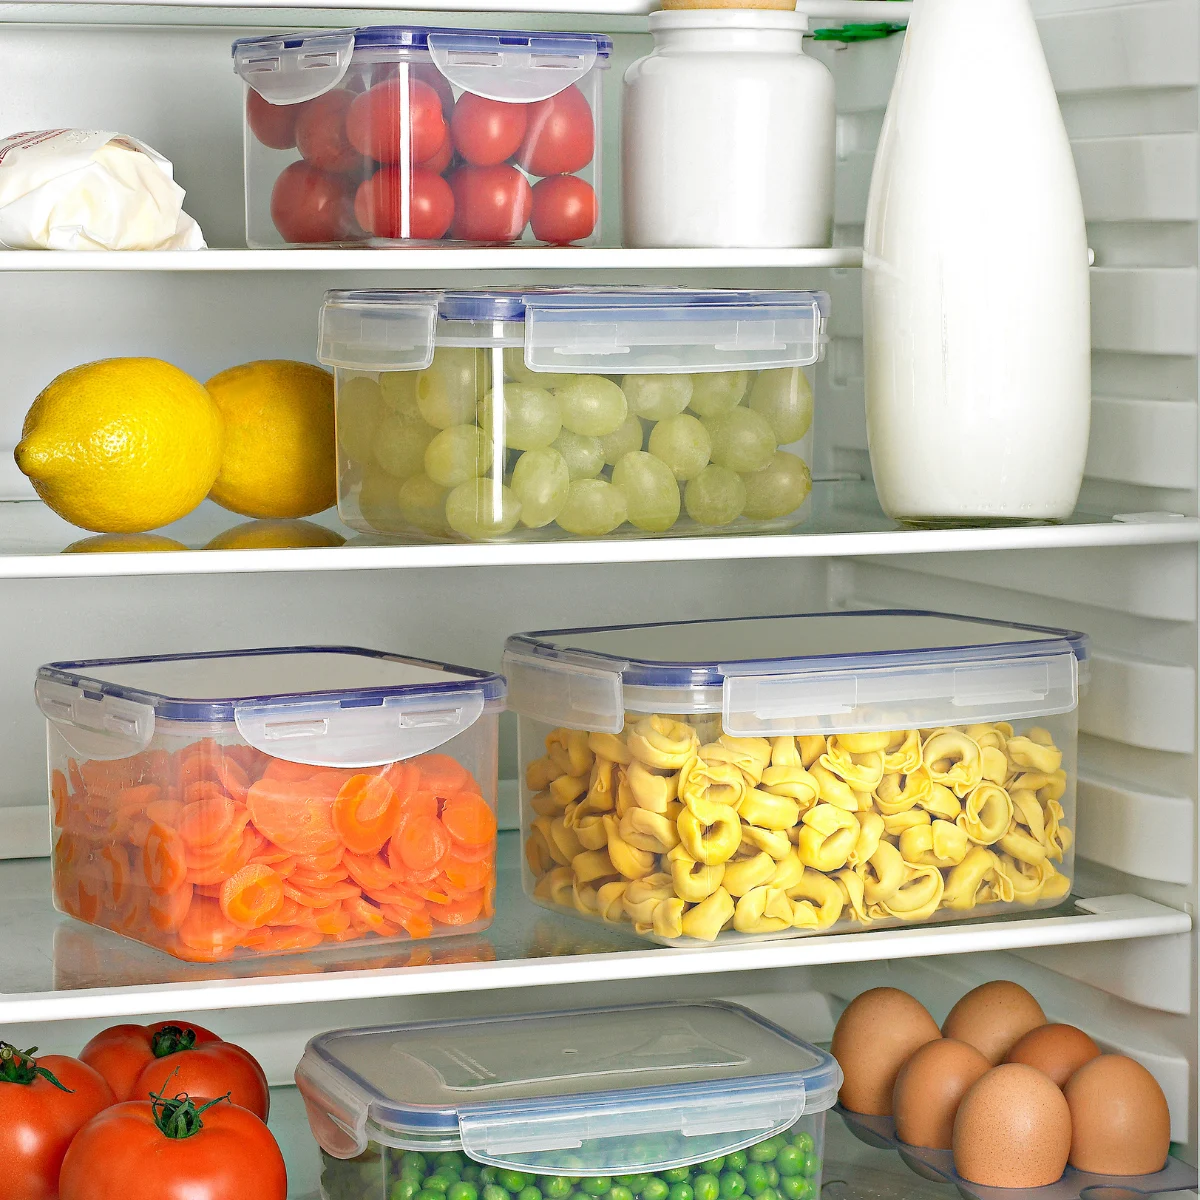
The next step is to sort through the items in your fridge. First, group like items together into categories. For example, keep all fruits and veggies together in one area of the fridge so you know where to find them when needed.
Next, use containers to divide up space as needed. If there is a lot of condiments taking up too much room on the shelf, consider storing some in plastic storage bins under or behind it so they are out of sight but still easily accessible when needed.
Finally, make sure that you don’t forget about any nooks and crannies: check for leftovers or drinks at the back of your refrigerator or freezer.
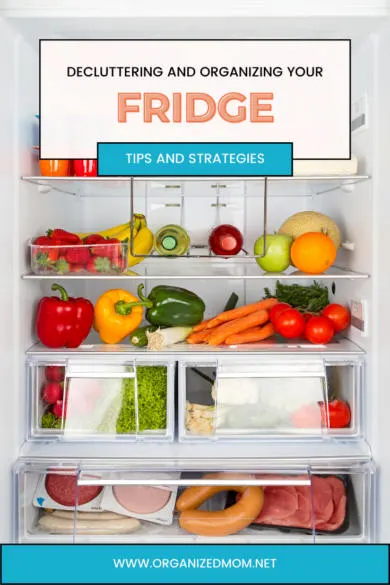
Step 5: Designate areas for different types of food
Now that your fridge is clean and organized, it’s time to make sure that you stay on top of food prep. The following tips will help keep your refrigerator in tip-top shape:
- Use baskets or containers to separate items. A basket can hold fresh herbs and a container can hold condiments like mustard or ketchup.
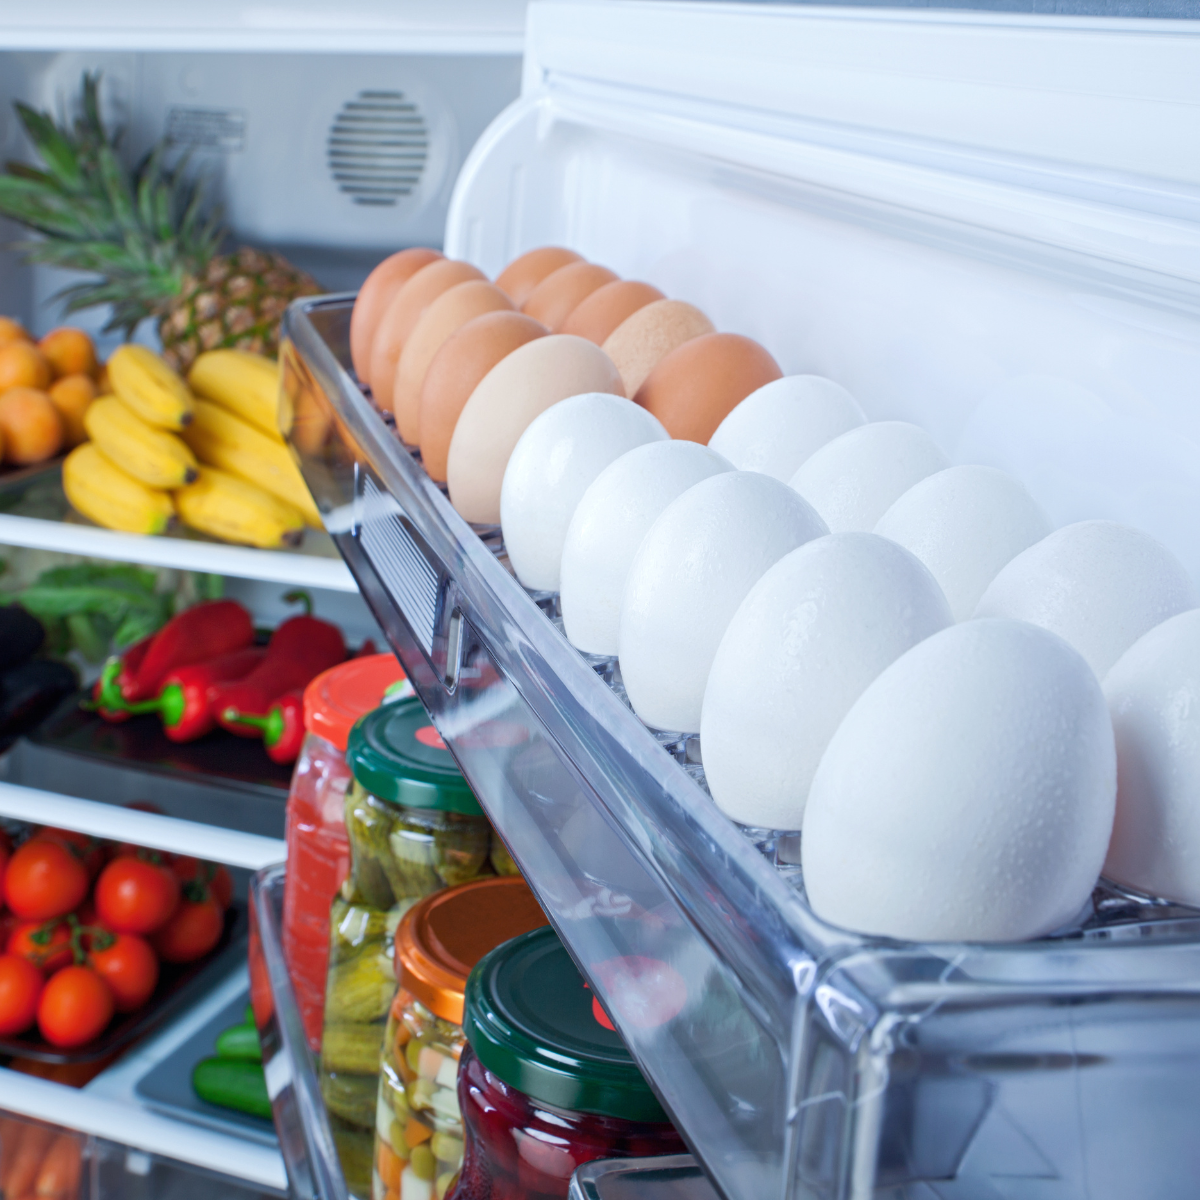
- Store eggs in the door or on a shelf. Eggs are best kept at 45 degrees Fahrenheit—the average temperature inside the egg carton so they should be stored either in the door or on one of the upper shelves of your fridge (where temperatures are warmer).
- Store milk in the door or on a shelf. Milk should be kept at 40 degrees Fahrenheit so that it doesn’t spoil too quickly; placing it near other cold foods will help keep its temperature consistent with theirs
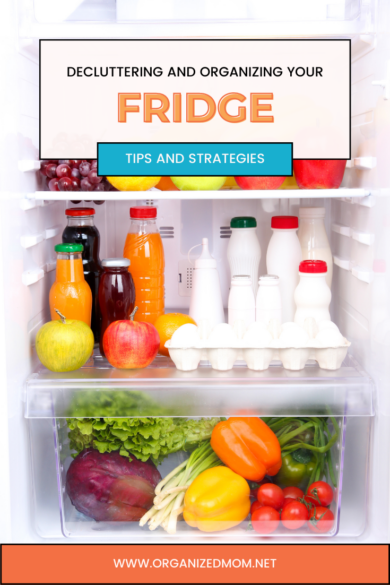
Step 6: Organize shelves and drawers with baskets, divider trays and storage containers
Here are some ideas for organizing your fridge and making the most of its space:
- Use baskets or divider trays to organize small items like condiments or snacks. You can also use containers for leftovers, sauces, and other things that might be stored in the fridge for a while. Keep in mind that you should never store food in plastic bags or wrap; it will make your refrigerator work harder because it needs to absorb all of the extra moisture from these containers.
- If you have room on one of your shelves (or if you’re willing to buy a new shelf), consider adding an extra-deep bin so that everything has its own space. This makes them easier to find when they’re needed but still takes up less room overall than having multiple rows of jars stacked together horizontally across one shelf and if there’s something smaller than a 16 oz. jar size then it won’t even fit into those rows anyway.
Step 7: Label items
There are many ways to label items in the fridge.
- Use a label maker. This is the easiest way to label items because it automatically prints out labels for you, but it can get expensive if you are labeling several items each week or month.
- Use a permanent marker. This method has a tendency to wear off over time, but if you’re just looking for something temporary, it’s fine and will save you money on labels!
- Use a chalkboard label or dry erase marker (for glass containers). If you want some extra flair with your food storage techniques, try using chalkboard labels on glass containers. They’re easy enough to write on and clean off with water when necessary and since they’re not permanent, they won’t damage your container either. Just make sure not to use them on plastic containers unless they have been specifically made for that purpose; most likely these types of markers will melt the surface of those plastics over time due to excessive heat exposure from being kept in warm environments like refrigerators all day long…

Organizing your fridge the right way
Organizing your fridge the right way will help you find what you need faster without wasting space.
- Clean it out. Go through the fridge and throw away any food that is wilted, spoiled or expired.
- Sort through the contents on shelves and drawers. If there are items that are similar in type and use, sort them into designated areas of the fridge to make them easier to find later. If you always keep snacks in front of the door of your refrigerator and they’re all different types of chips, cookies or crackers you should sort them into groups so they don’t get mixed up when you go looking for something specific.
- Use baskets and dividers: Baskets can be used to store items like fruits or vegetables; divider trays keep food fresh longer by creating smaller compartments for each item (like meats). You can also store meats at one end of your refrigerator and things like dairy products at another end. This will make it easy for everyone who uses this space to find what they need quickly without having to dig through everything else first!
Conclusion
If your fridge is a mess, it can be overwhelming to figure out where to start. With a little bit of time and effort, you can have an organized kitchen that makes sense for you and leaves you feeling relaxed at the end of the day. Our tips will help you get started on how to organize the fridge right away.